
Welcome to day three of We Grow By Our Dreams' Red and White Week. Today I will show you how to make three yummy treats using only 3 ingredients. Hello quick gift idea.

The three ingredients you will need to make all three treats are:

- Candy canes (I used regular size but small would work too)
- Pretzel Rods
- White melting chocolate (it goes by many names)
J.O.Y Candy Cane Letters
Inspired by the L.O.V.E. letters on the Make and Take blog, the J.O.Y. letters add a festive Christmas touch.
Preheat the oven to 300 degrees. Line a cookie sheet with parchment paper. Break and arrange 4 1/2 candy canes like the picture.

Red and White Candy
This is a variation of my pink candy recipe. To make Red and White candy you will need:

- a half a bag of white chocolate melting chips, melted according to package directions
- 2 crushed candy canes
Spread the melted white chocolate in an even, thin layer on a parchment lined cookie sheet.

Sprinkle the crushed candy canes over the melted chocolate while it is still warm. Allow time for candy to cool before lifting it off of parchment paper and breaking it into pieces.

Dipped Pretzels
You will need:
- 1/2 bag of white chocolate chips
- 2 candy canes, crushed into fine pieces
- 1 bag of Pretzel Rods
Sprinkle the candy cane pieces on top half of parchment-lined cookie sheet.

Dip whole or halved pretzel rods into melted white chocolate. If you use halved rods, dip the broken end into the chocolate.

 Roll the dipped rod into the crushed candy canes and allow time to cool on the cookie sheet.
They look great displayed in an ice cream glass along with peppermint taffy and red and white kisses. 
There you have it, three easy red and white treats using only three ingredients. Save yourself time and melt the whole bag of chocolate chips at once. And, crush the candy canes for the Red and White Candy and Dipped Pretzels at once.
 If you missed the previous Red and White Week posts, check out the Curtain to Cute Apron Transformation and the Homemade Gift Guide.
 Come back tomorrow for more red and white fun. I have more edible treats, an origami creation and some fun thrifted finds to share this week.



 I had lots of Heidi Grace Love Blossoms goodies leftover so I used the flocked paper to cover Target mailboxes and the tops of the candy packages. The mailboxes were super easy with the
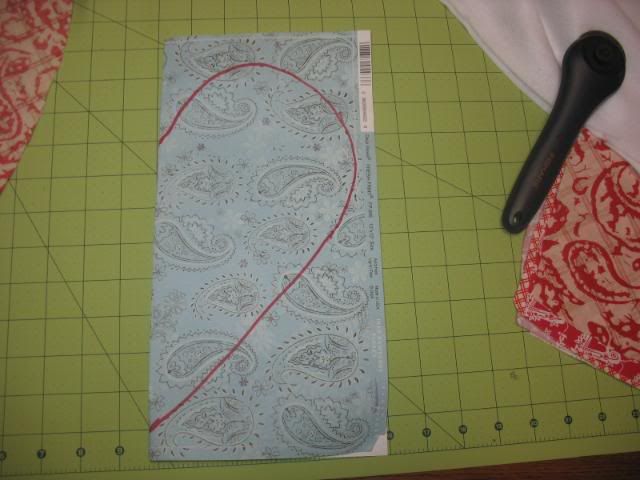
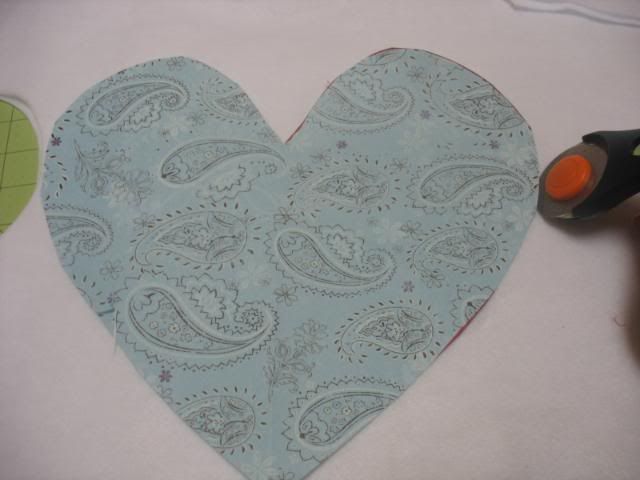
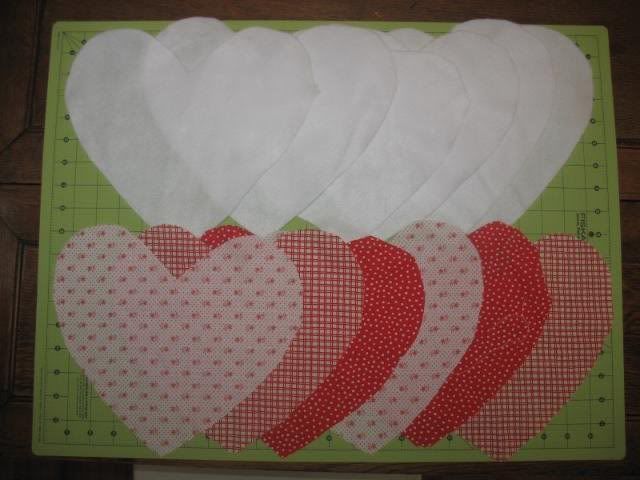
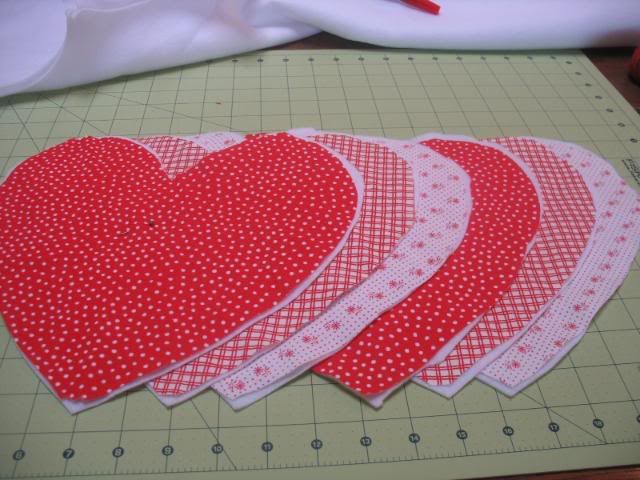
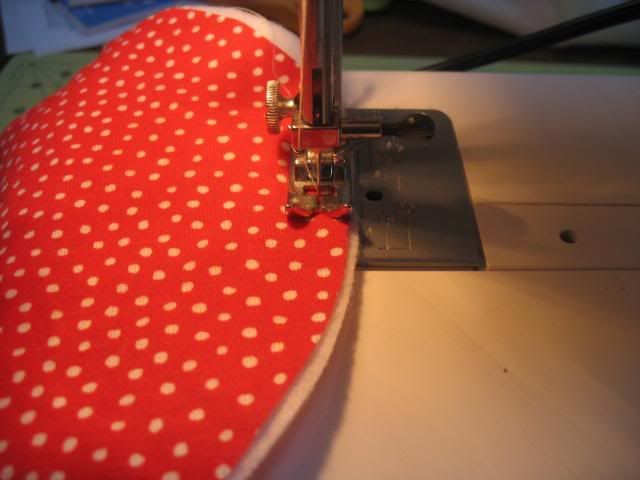
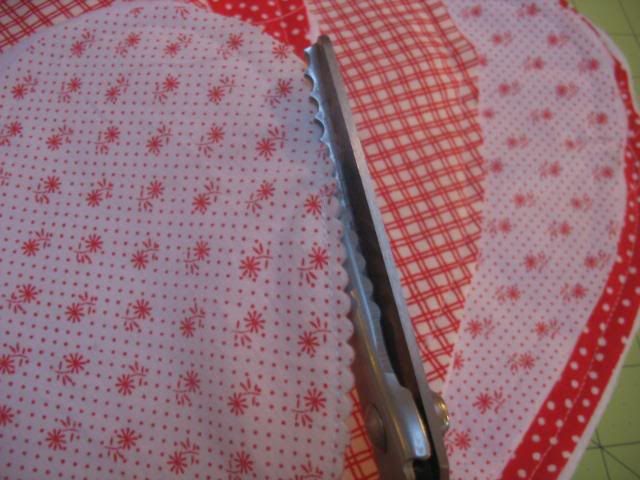
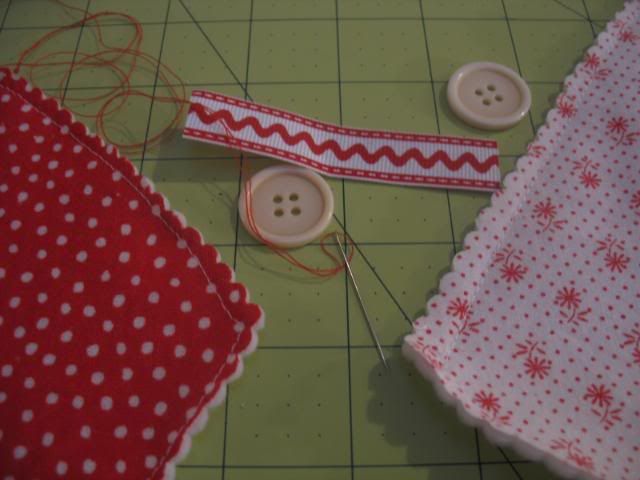
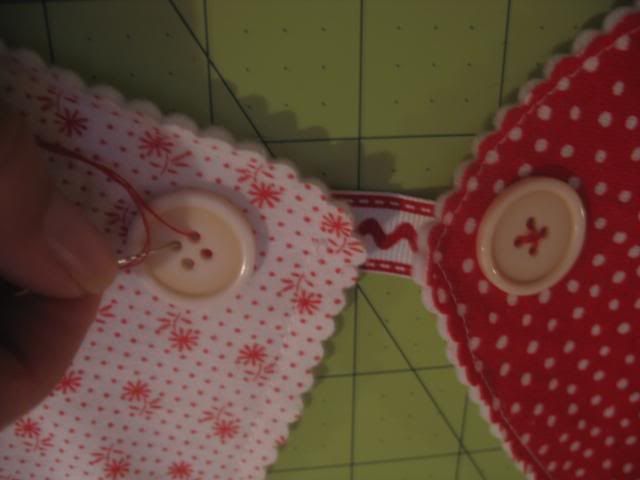
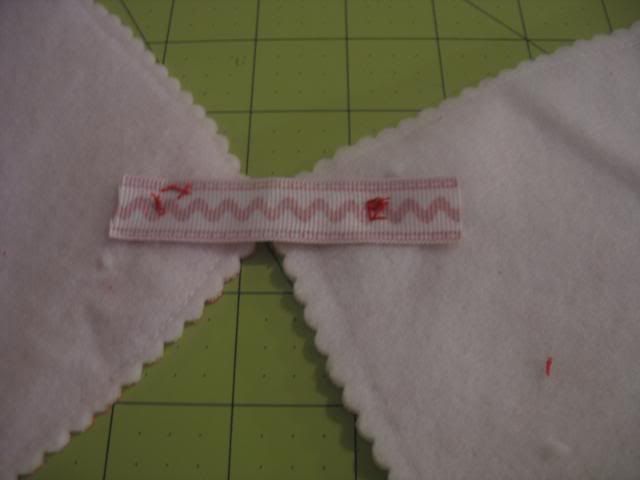
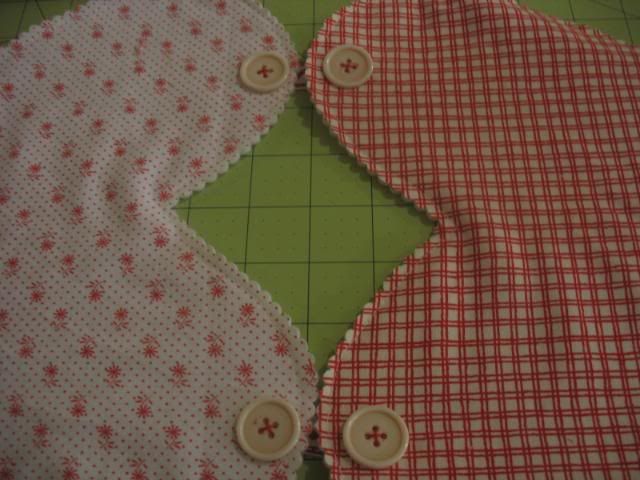
 I have a bunting addiction. I made a 10 inch heart template and cut several different red and white fabrics and white felt. I zigzagged stitched the patterned fabrics to the felt. Then, I used my new Fiskars scalloped pinking shears to cut the edges and finished it off by straight stitching red seam binding on the back. It's hanging over my kitchen windows.


