
No tutorials today, I have a couple fun treats instead. First off, I am participating in a Pay It Forward challenge. Robyn from The Pink Stamper is sending me and 2 other bloggers a package of goodies. I in turn will send 3 lucky blog readers packs of goodies. If you'd like to join the fun and 1) you have a blog 2) you live in North America 3) you are the first of 3 volunteers to sign up below and 4) you commit to sending goodies from your home to 3 other bloggers then leave a comment on this post expressing your interest.

Next, I have been nominated by 2 blogger friends for the You Make Me Smile Award. Thanks Allison from Stampin When I Can who always keeps me up to date with the blog world and Barb from Barb's Card Creations and Other Stuff who always has something fun to share and hosted a super fun game of card Bingo. I'd like to nominate Angie from {Stampings of the Shug}. Angie/Shuggy posts some funny comics and random thoughts and always takes me down memory lane when she hosts her Saturday Night Shuggy Snacks contest. Oh yah, and she makes great cards and things too.


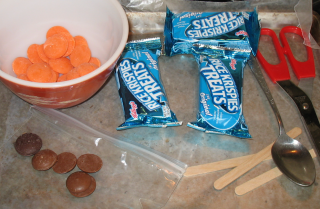
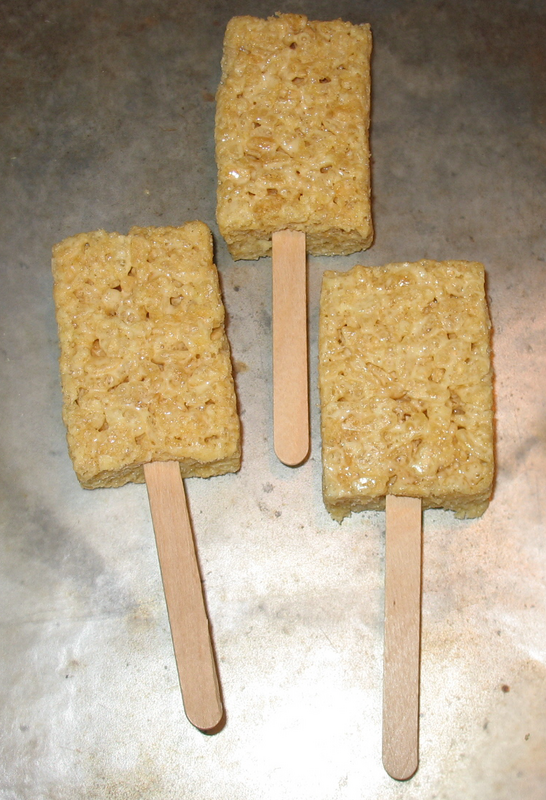 Step 1: Unwrap pops and insert popsicle sticks.
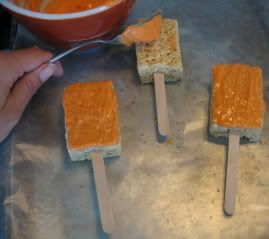 Step 2: Melt base color chocolate according to directions on package. Spread onto Krispie top with the back of the spoon.
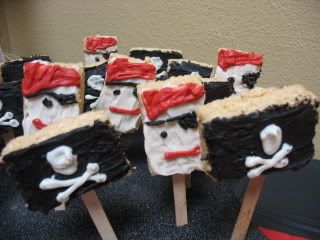
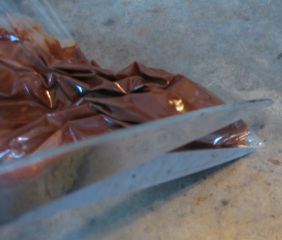 Step 3: Spoon accent color chocolate into zip back. Seal and cut tip of corner.
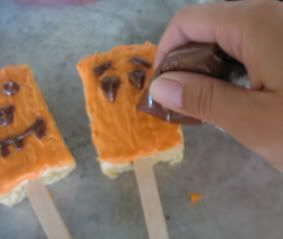 Step 4: Decorate by squeezing chocolate onto pop once the base color is cool.
  Let cool and place laying down or stick into styrophome.


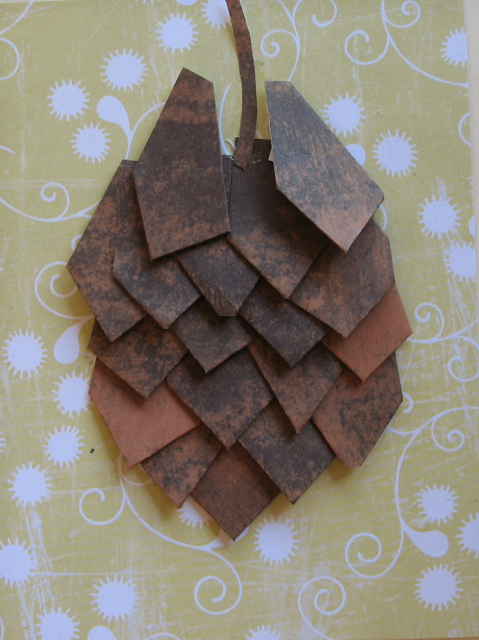
 Step 2:
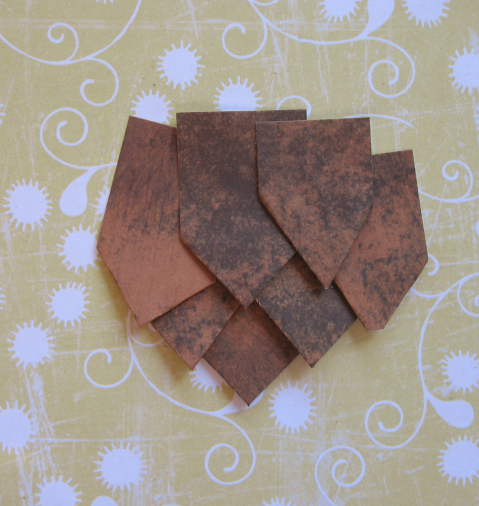
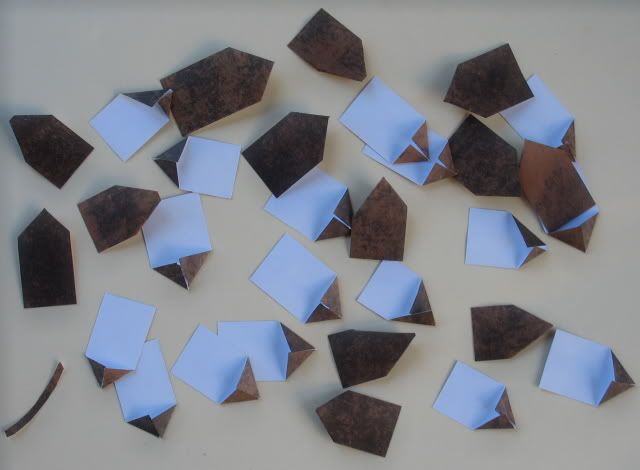
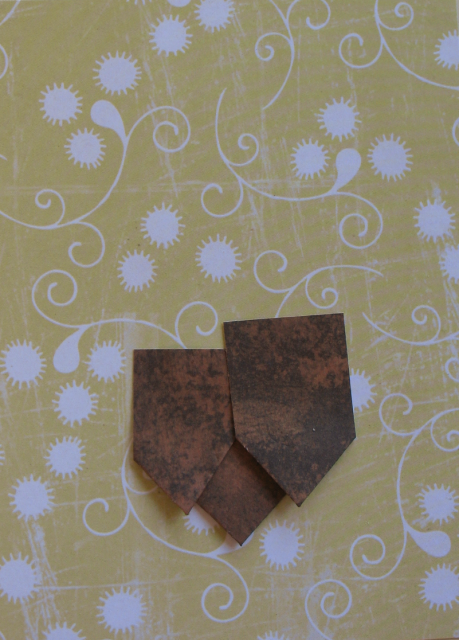
 To make the poinsettia for the card, you need:
 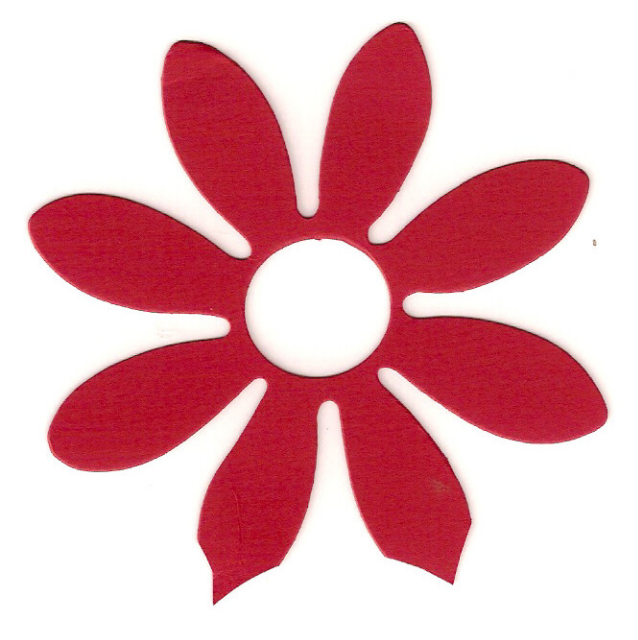 First, using your scissors, cut the tips of each of the petals of ONE of the daisy die cuts. See the bottom petals of the picture to the left.
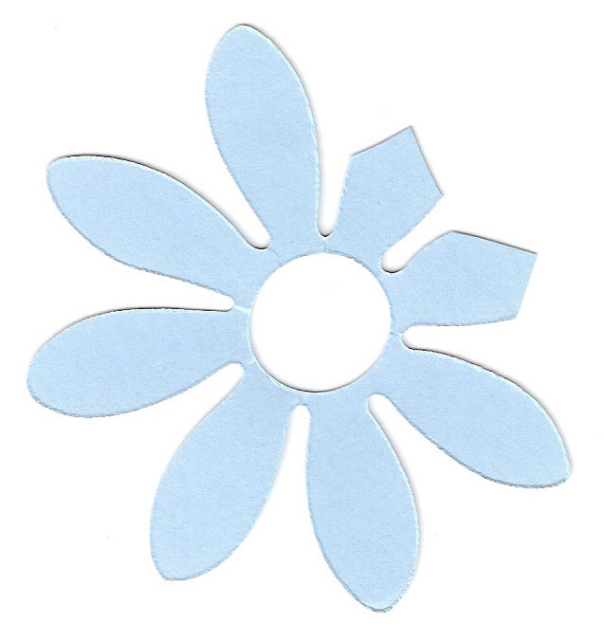 Now, fold each of the flower petals from both of the flowers toward you. Then, use your adhesive and layer first with your scrap piece, then your larger flower, then your smaller flower.
 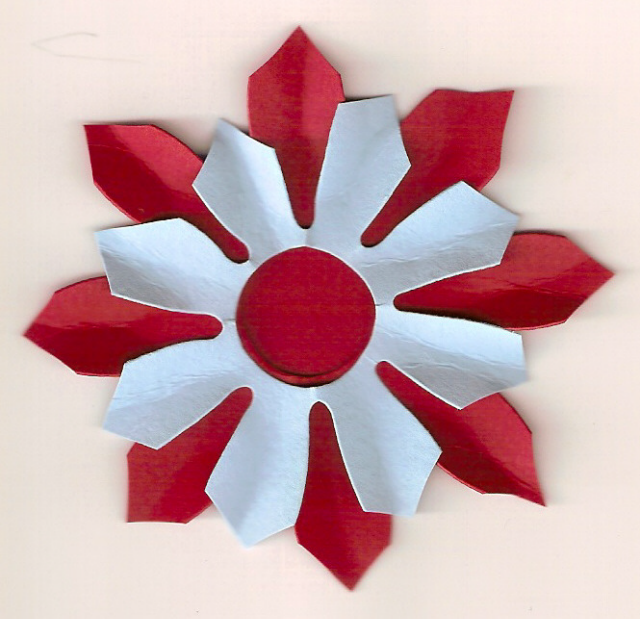 The smaller flower petals should go between the larger. This will hide your scrap piece.
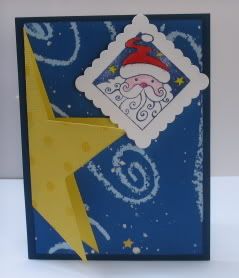 I wanted to do something different than the usual fold on this one. So, it is like a postcard with the star unfolding to leave room for a sentiment or personal note. The Santa stamp is from Hero Arts ClearDesigns. The yellow polka dot and the blue swirly paper are from Creative Imaginations. The navy cardstock is Prism. I'm also not a big Santa fan but I thought this stamp really worked with the star theme. There's lots of sparkle in real life.
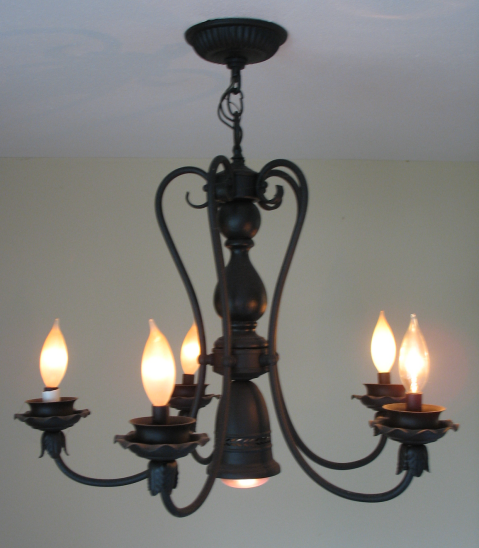 I am a garage sale shopper. I bought the chandelier on the left at a garage sale for a dollar. It was super ugly. So, I took it home, spray painted it with wrought iron paint, added bulbs and voila.

 these amazing 12 x 12 tiles. I made this one for my bff. I know she will love this scripture and the travertine tile I chose for her. This was the easiest project ever, just peel off the backing from the sticker sheet and apply to the tile. The sticker sheet is from
 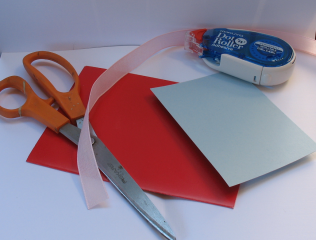 You'll need: Scissors, tape runner or double stick tape, stiff ribbon (fabric or seam binding 7/8 or 1 inch), card base and a cardstock mat for your image.
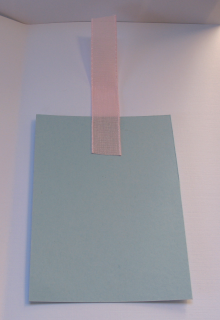 Cut a 3 inch piece of the ribbon and tape it to the cardstock mat.
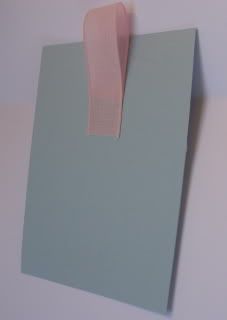 Add adhesive to the ribbon starting 1/4 inch down from the top of the cardstock piece. Continue to run your adhesive 1/2 inch past the bottom of the ribbon (about 1 1/2 inches down from the top or the cardstock. Loop the ribbon over itself and adhere. This is the trickiest part. You want the loop above the cardstock to be slightly smaller than the width of your ribbon. You can test it by turning your cardstock piece over and laying your ribbon horizontally behind it.
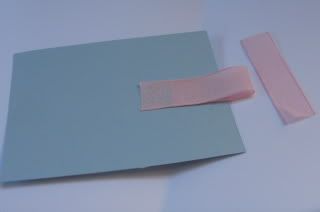 Cover cardstock piece with adhesive, especially the part of the ribbon that covers the cardstock. (Don't put adhesive on the ribbon where it is above the cardstock piece.) Cut another strip of ribbon, about 2 1/2 inches long.
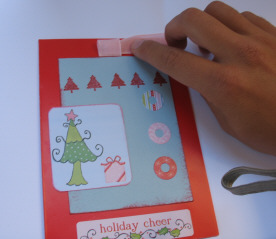 Mount your cardstock piece to your card base. Push your ribbon strip into the loop and center it.
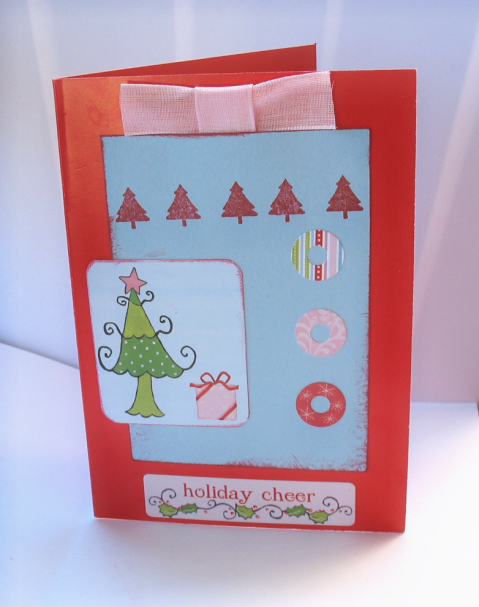 Embellish your card and you are done! See my other example


